
First off let me say I love these little cars, but my budget at this time doesn’t really allow me to buy a newer, better maintained one. The reason I call my two Metros beaters is because they really are if it wasn’t for me keeping them on lifesupport of tons of small fixes, and bloody knuckles they’d be organ donors in the junkyard. If someone dropped a rust free chassis of one of these cars off in my yard, I’d have mile wide smile on my head for a long time to come.
I need to write a boilerplate disclaimer to link to here, but for the time being let me say I’m not a licensed mechanic, anything I do here could probably be dangerous, illegal, immoral, fattening or just plain stupid. If you hurt yourself or others by copying me do you really think anyone won’t laugh at you for copying something you seen on the internet, at a site called SmartLikeTruck.com no less.
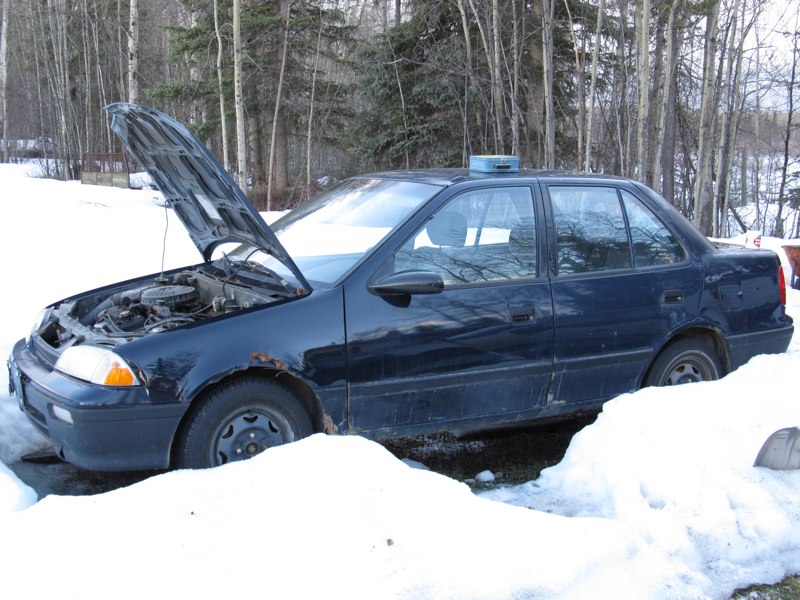
Last summer I purchased a 1993 Geo Metro 4 door sedan with 18X,xxx km as a parts car or replacement for my current 1992 Metro sedan with 28X,000 km. On my older Metro was getting excessive tire wear and reduced gas mileage was the result of the sloppy suspension, so parts were sourced and ordered. While I was waiting for the new parts I made the decision to switch to prepping the newer Metro. The suspension parts on the new beater were coming due for replacement, and I’d really like to drive one of these cars with a fresh suspension so it was no loss by ordering the new parts.
The newer Metro has parts that are in better shape than the older Metro, and many parts that are in worse shape. Essentially I’ll be taking two crappy beaters and making one better beater. The reason I decided to switch to the ’93 is that transmission is in better shape and the engine compression is still in the decent range. Compression is better on the ’92 but that is due to me doing valves, rings and rod bearings a couple years ago, so If decide to hotrod the motor on the ’93 I have a decent engine to swap in in the interim.
Inspected plugs and wires while doing the compression test…


Nice huh? The plug connector slipped out of the plug boot with very little effort and was rusty as can be. Fortunately plugs and wires were in much better shape on the ’92 so I swapped those in. The white on the plug is might be an indicator that the valve guides and seals are getting too sloppy and oil is getting past. This cars oil was overfilled when I bought it, probably over compensation for what appears to be a leaky valve cover, so oil may have been getting into the upper cylinder via the pcv tube and intake. So I’ll try correcting the valve cover leakage before I pull the trigger on replacing valve guides and seals.
Next I removed the stock snorkel that goes from the front passenger side fender to the air cleaner, this makes the engine bay a little louder, but it is a small sacrifice to pay for less restrictive air flow.

To further reduce unnecessary restriction I removed the two bridges inside the air cleaner and made some bolt down tabs to hold the filter housing in place. A piece of vinyl tape was put over the now unused hole in the top of the air filter element.


I got a start in weight reduction, rumor has it that every 15lbs of weight removed from these cars is like adding close to 1 horsepower, of course YMMV. Covering the bottom pan of the trunk and cab of these cars is a thick asphalt pad intended to be sound deadener, aside from being damn heavy, I find it to be not all that effective. If underbody noise bothers me I’ll use a spray on or Dynamat type solution. I’ll post a total weight of this crap once I have removed it all.

This ’93 had a key broken off in the ignition so I had to take apart the dash around the steering column and disassemble the ignition assembly. Fortunately someone had been in there ahead of me and had already done the drilling and grinding with a Dremel type tool. If you are not so fortunate and have a key broken off or need to change the ignition lock here is a picture of the two security bolts you must cut a slot in to remove with a screwdriver.

The trick that whoever pulled the ignition lock cylinder used to remove the teensy roll pins holding it in was to drill a small hole next to the pin so that a dental pick or like tool could be used to remove the roll pins.


Since I already had some of the dash apart I decided to add a tachometer, if you don’t have a tachometer in your Metro you may be able to find a Metro gauge cluster in the junkyard with one, be advised if you get a cluster from a 4 cylinder Metro and put in your 3 cylinder Metro you will have an incorrect rpm reading. There is a workaround on the Teamswift forum if you are handy with a soldering iron. I had a small aftermarket tachometer so I spliced it in and mounted it in the front of my existing cluster.

I guess that’s enough for the first installment in what I can assure will be many.
Any questions, suggestions, or constructive comments would be greatly appreciated.